Your view is your home’s headline. In 98116, buyers come for Puget Sound and skyline moments that feel effortless from the first photo to the final walkthrough. If you’re preparing to sell a West Seattle view home, smart staging and well-timed photography can turn that view into measurable demand and stronger offers. In this guide, you’ll learn how to open sightlines, style outdoor living for year-round appeal, and plan a photo day that captures golden-to-blue-hour magic. Let’s dive in.
Why staging view homes matters in 98116
A compelling, well-staged listing shows buyers how they will live with the view, not just look at it. National data backs the investment. In the National Association of Realtors’ latest staging report, 29% of sellers’ agents observed a 1% to 10% increase in offer price when homes were staged, with a median reported staging cost around $1,500. Staging is also widely reported to reduce time on market, which matters in view-driven neighborhoods like Alki and Admiral where buyer expectations are high (NAR 2025 Home Staging report).
Water and skyline outlooks commonly carry a premium. Hedonic pricing studies find that scenic and water views are capitalized into property values, though the size of the premium varies by location and view quality. This is a key reason to invest in presentation, photography, and outdoor living for a view property (literature review on water view premiums).
Make the view the star: sightlines first
Start by removing anything that interrupts your line of sight. Take down heavy valances, bulky drapes, or dark roller shades that block daylight and crowd windows. If privacy is needed, choose low-profile or translucent treatments that keep the view visible and rooms bright. Clean windows inside and out so distant details look crisp in person and on camera (photography prep tips).
For photography, remove any exterior window screens that soften or darken the view, then reinstall them after the shoot. Many real estate photographers recommend this small step because screens reduce contrast and perceived sharpness in wide vistas (twilight shoot best practices).
Edit furniture to serve the view
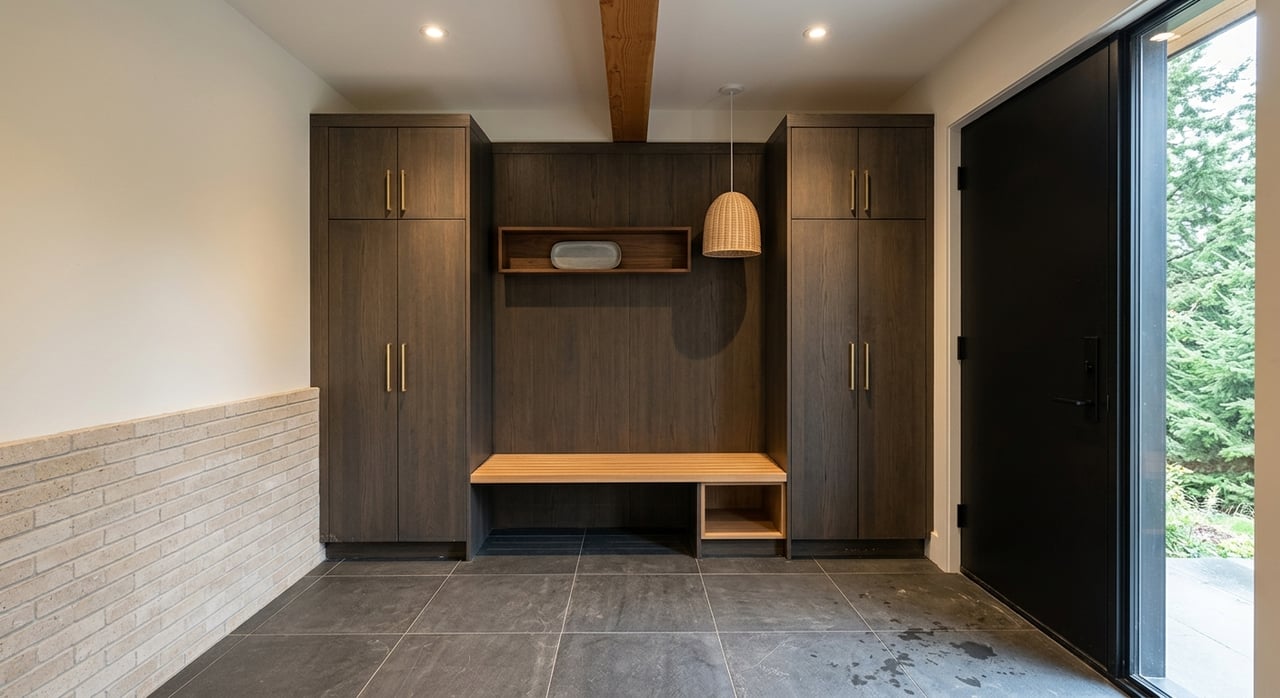
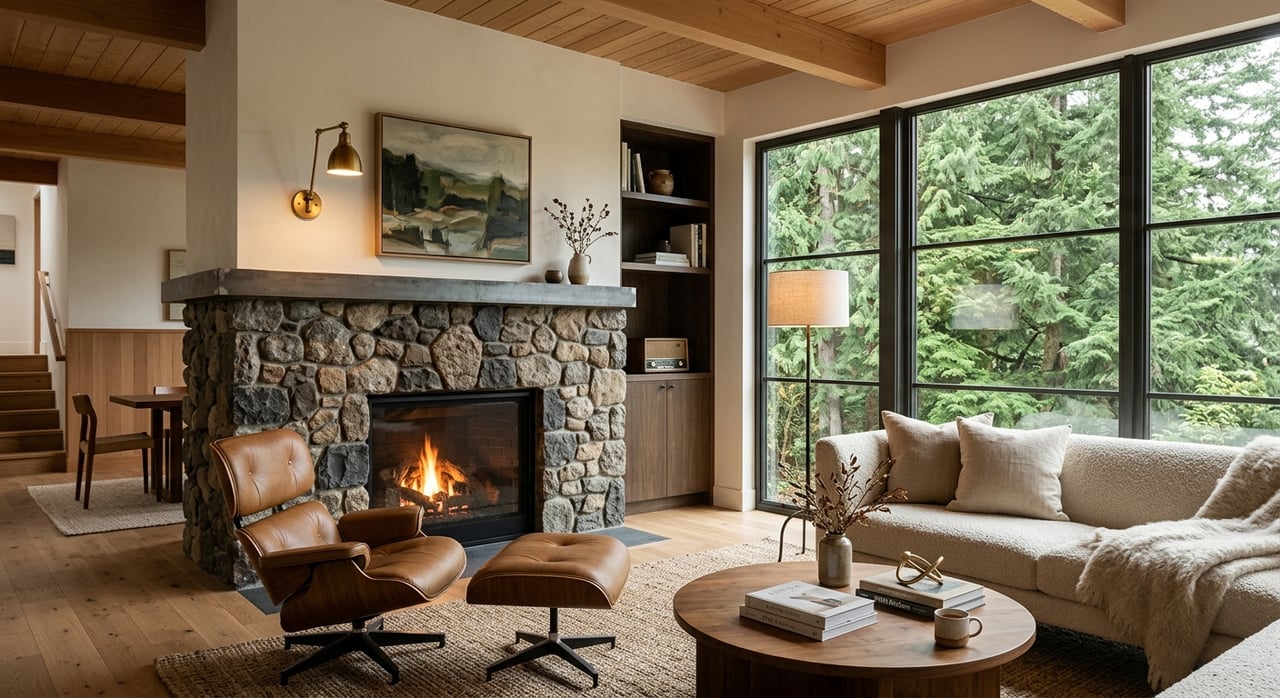
Arrange seating to make the view a natural focal point. Use a low-profile sofa and chairs near windows so the eye continues outward to the water or skyline. Consider a dual-focus setup: a conversational grouping and a reading chair by the window for an “everyday view” moment. If a piece feels oversized or blocks sightlines, edit it out. The living room, kitchen, and primary bedroom earn your first staging dollars (NAR staging findings).
Neutral color, tactile texture, layered light
A calm, neutral palette lets buyers project themselves into the scene. Add upscale textures like linen, wool throws, natural wood, and stone to create warmth without distraction. For late-day showings and twilight shoots, layer lighting so interiors read warm and inviting against a cool sky. Check bulbs for consistent color temperature and use dimmers to balance glow across rooms (twilight photo prep).
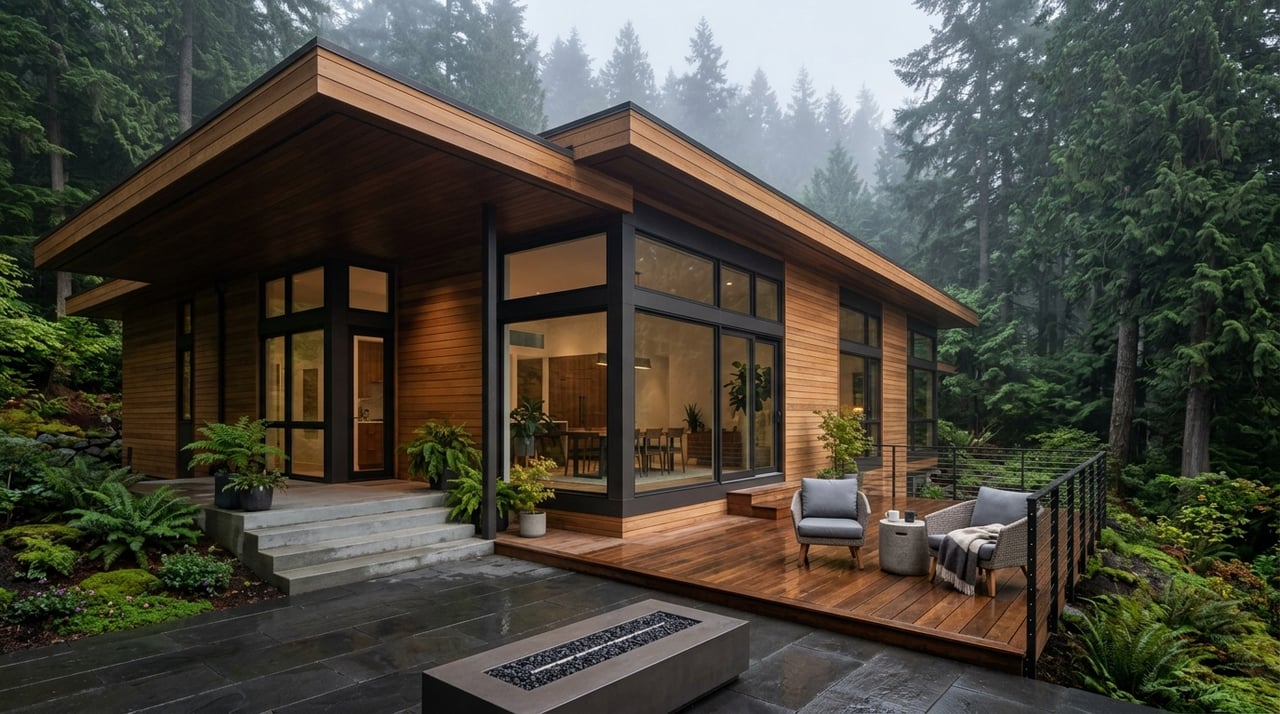
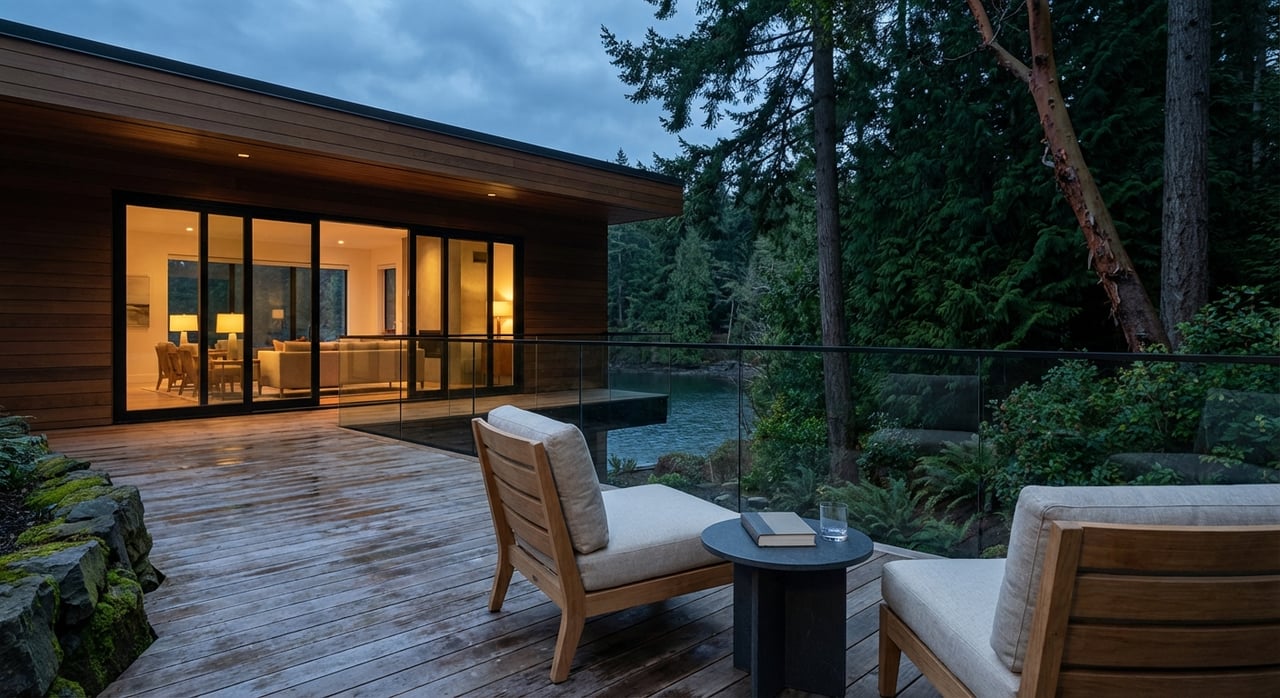
Stage outdoor living for year-round appeal
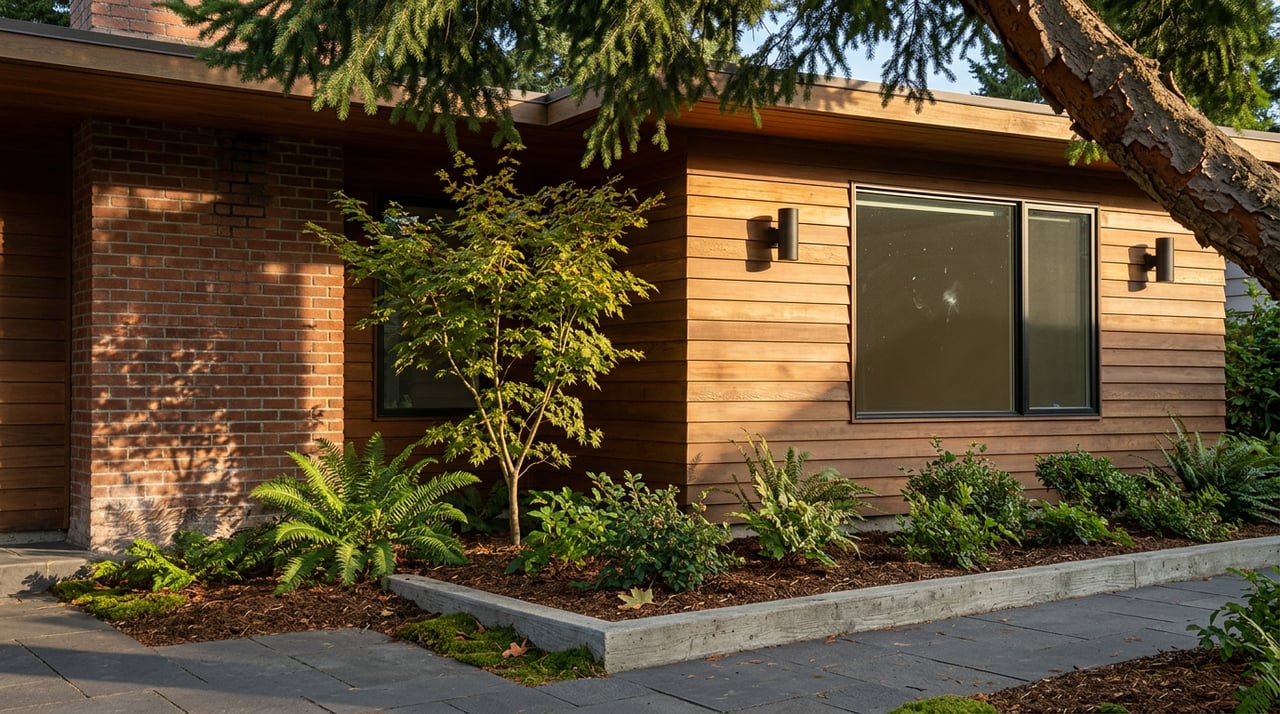
In West Seattle, decks and patios are part of the product. Treat them like rooms. Choose weatherproof seating that photographs cleanly, scale planters to the space, and create a clear path to the best viewing spot. Add layers of outdoor lighting so your deck looks usable at dusk and into evening. Small, high-quality pieces tend to outshine oversized or weathered furniture in photos.
If foliage on your property intrudes on the view, trim it thoughtfully and document what was done. If neighboring trees affect sightlines, clarify what you can and cannot change before promising view clearance to buyers. Where a railing upgrade is feasible, minimalist cable or frameless glass systems preserve sightlines and photograph well. These are longer-lead upgrades that may require permits and code review (glass railing design overview).
Curb presence and easy pathways
Curb appeal helps buyers arrive in the right frame of mind. Refresh paint where it is peeling, clean or replace oxidized metal railings, and keep gutters and walkways tidy. Ensure a smooth, well-lit path from street or garage to the main living space. Clean lines lead buyers to the view with minimal visual noise (common pre-listing recommendations).
Photography that preserves interior detail and the view
Your photo set should highlight the view while protecting room detail, so buyers experience both. Ask your photographer for:
- Interior HDR images that balance bright windows with interior finishes.
- Daylight exteriors to show approach, deck orientation, and context.
- Twilight hero images that pair warm interior light with blue-hour sky for maximum drama.
- Optional: floor plan and a 3D walk-through for layout clarity, especially in multi-level homes where the path to the view matters.
Time it right: golden hour to blue hour
West-facing vantage points shine in late afternoon through twilight. The golden hour and blue hour are defined by specific sun elevations, and their timing changes with season and latitude. Use a planning tool to dial in exact times for your address and listing week (guide to golden and blue hour). Top real estate photo teams typically arrive 30 to 60 minutes before sunset, then work a narrow 15 to 30 minute window for hero twilight shots. Book a backup evening in case of clouds or haze (twilight workflow overview).
Day-of photo prep checklist
- Windows: Clean inside and out. Open all shades and remove visible screens for the shoot where safe and appropriate (twilight photo prep).
- Interiors: Clear countertops, hide cables and pet items, and edit accessories so surfaces read calm and upscale (photography prep tips).
- Lighting: Replace burnt bulbs, set consistent color temperature, and turn on all interior and exterior lights for twilight per your photographer’s direction (twilight photo prep).
- Outdoor: Tidy decks and patios, coil hoses, hide bins, and place a simple vignette at the best viewing spot, like two chairs and a small table.
Aerials and compliance in Seattle
Drone images elevate a view listing by showing orientation to Puget Sound and downtown. If you hire aerials, confirm the pilot holds an FAA Part 107 Remote Pilot Certificate, uses a registered aircraft with Remote ID, and carries insurance. Operations near controlled airspace may require authorization, so build in lead time (FAA Part 107 overview).
If the flight involves Seattle parks, streets, or other city property for takeoff, landing, or staging, check permit requirements with the City of Seattle Film Office. Private property operations that comply with FAA rules may not need city permits, but you should verify if any part of your plan touches public property (Seattle Film Manual). To maintain good neighbor relations, notify adjacent owners when appropriate and keep flights brief and respectful of privacy.
Timeline and budget benchmarks
- 3 to 6 weeks before launch: Meet a professional stager, decide which rooms to stage, and scope any quick upgrades like lighting or hardware. Ask for proposals that reflect view-first priorities and a schedule that leaves buffer for photography. The NAR survey reports a median staging cost around $1,500, with larger or vacant homes costing more (NAR staging findings).
- 1 to 3 weeks before launch: Complete deep cleaning, window washing, trimming on your property, and small repairs. Book photos once staging is set so your visuals match the on-market presentation (photography prep tips).
- Photo day: Capture daylight interiors and exteriors earlier, then plan a twilight session in the evening. Have your photographer arrive about an hour before sunset and allow a backup evening in case of weather (twilight workflow overview).
Risks and disclosures to manage
- Drone and privacy: Follow FAA rules, respect neighbor privacy, and use insured, certified pilots for all commercial flights (FAA Part 107 overview).
- Photo accuracy: Describe your view honestly. If it is a “downtown glimpse,” avoid listing copy that implies a full panorama. If you use virtual twilight or virtual staging, label it per MLS rules (NAR staging and marketing guidance).
- Seasonality: Seattle tends to have its clearest, driest stretch in summer, which can help with view photos and showings. If timing pushes you into a cloudier window, lean on twilight strategy and interior lighting to create inviting, accurate images (Climate of Seattle overview).
Put Hines Group to work
Your West Seattle view deserves production-level staging and photography that honor the lifestyle buyers want. Our concierge approach pairs hyperlocal expertise with premium marketing so you can list with confidence, reduce stress, and aim for a top-of-market result. If you are considering a move in 98116, request a plan tailored to your timeline, budget, and view orientation.
Ready to get started? Request a Complimentary Home Consultation with the Hines Group.
FAQs
What should you stage first in a West Seattle view home?
- Prioritize the living room, kitchen, and primary bedroom. Edit furniture to open sightlines, use a calm palette, and add layered lighting so the view remains the primary focal point.
When is the best time to photograph a west-facing Puget Sound view?
- Late afternoon into twilight. Use tools to plan golden hour and blue hour, schedule your photographer to arrive 30 to 60 minutes pre-sunset, and hold a backup evening for weather (golden and blue hour guide).
Do you need a permit for drone photos in Seattle?
- You need an FAA Part 107-certified pilot for commercial work, and you may need Seattle Film Office permits if launching or staging on city property like parks or streets. Confirm requirements in advance (Seattle Film Manual).
How much should you budget for home staging in 98116?
- The NAR survey cites a median cost around $1,500, though full-service or vacant-home staging can be higher. Ask for itemized proposals that focus on view-forward rooms (NAR staging findings).
Should you remove window screens for listing photos?
- Yes, for the shoot only. Screens can blur or darken distant views in images, so temporarily remove visible screens and reinstall them after photos (twilight photo prep).
How do you handle trees that block a view before selling?
- Trim vegetation on your property if safe and permitted. If neighboring trees affect sightlines, document constraints and avoid making promises you cannot deliver. When feasible, discuss long-term solutions like view-friendly railings or selective pruning with the proper permissions.